

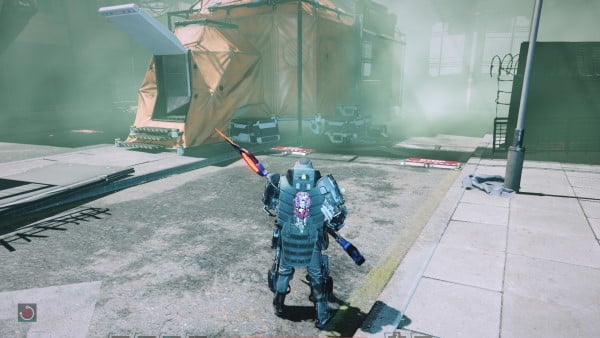
Downtown Jericho City is a Location in The Surge 2. Downtown Jericho City was a productive and active zone before the event happened. Now it's inhabited by scavengers and patrolled by the A.I.D.
[location image header]
General Information
- Previous: Detention Center
- Next: Seaside Court
- Bosses: N/A
Video Walkthrough
[video goes here]
NPCs in the area
Bosses
- N/A
Items
Equipment
- Equalizer
- A.I.D Type-4 'Authority'
- KLINGE Velo-Saw
- Metamorphing Talons
- Salvaged Crusher
- ASTir Plasma Augur
- MG Negotiator
- Endas RS3 'Titan'
- Bootleg Splitcleaver
Gear:
Enemies
Full Downtown Jericho City Walkthrough
Detention Center Rooftop

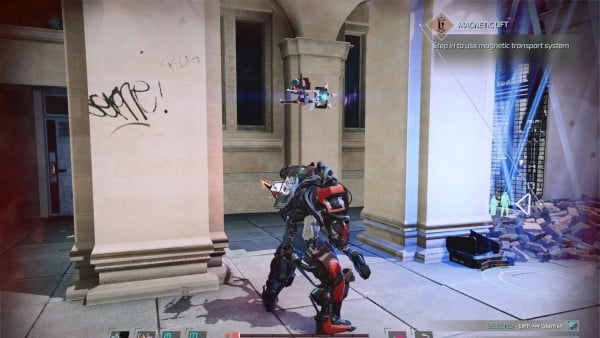
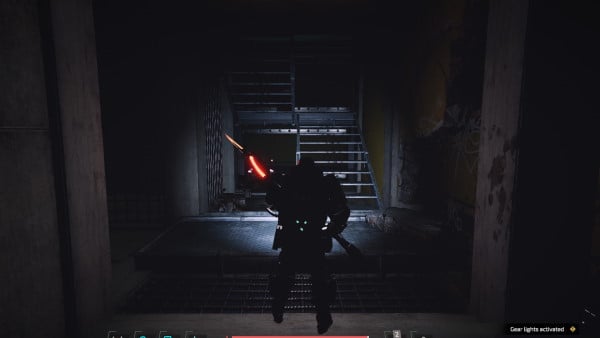
Once you are outside the Detention Center, you will find yourself on a rooftop where Brother Truman is waiting for you. Talk to him and he will ask you to go to the Seaside Court and give you the quest Journey to the court. Take the stairs to his left and then the Magnetic Lift to reach JCPD Back alley.

JCPD Back Alley

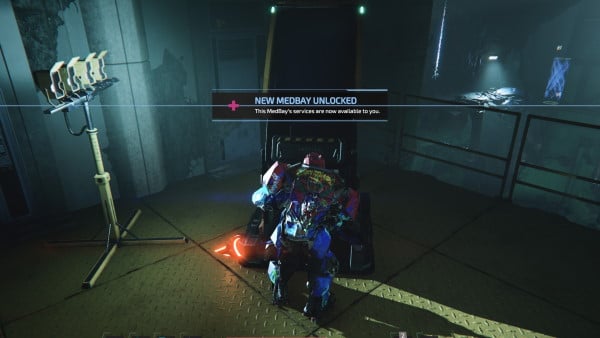
Here you will meet Stranger and a find the second Medbay. If you talk to Stranger, he will advise you to upgrade your equipment and he will provide you 3x Tungsten Alloy Mk.I that you can use to upgrade your weapon.

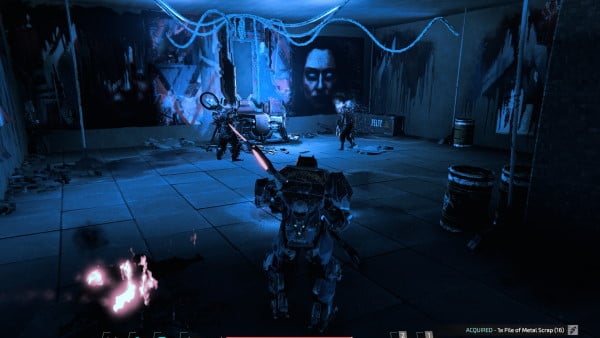
Activate the Medbay and upgrade you weapon or Exo Suit. After you are done, go behind the magnetic lift from where you came. If you climb the stairs behind, you will find 1x Small Pile of Metal Scrap

Go back to the Medbay, and you will see an open path to your right. Go on and you will find 1x Heavy Scavenger leaning down. You can walk behind him to perform a backstab.

Scavengers use parts of the Scavenger's Set. You can cycle through their limbs and cut their armored parts by performing finishing blows to acquire the schematics.

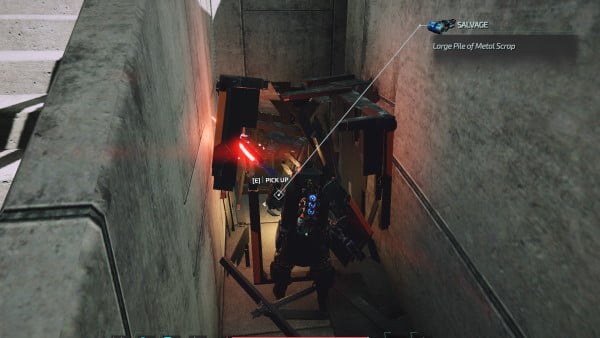
Once you've dealt with the Heavy Scavenger, you will see a small stair to your left leading to an alley. On the end of the alley, you will find 1x Large Pile of Metal Scrap

Go back to where you killed the Heavy Scavenger. There is a pile of boxes to your left. If you run into them, they will break. Behind them you will find the audiolog Welcome to Jericho.

If you advance further, you will find yourself behind 1x Heavy Scavenger holding an equalizer. Once again, you can perform a backstab if you approach walking.

Go on to your left and you will find 1x Small Pile of Metal Scrap, after that you will find 1x Heavy Prisoner roaming and 1x Heavy Scavenger giving his back.

Try to wait for the Heavy Prisoner to attack so you can face him alone. After you defeat him, walk behind the Heavy Scavenger to perform a backstab. Kill him and you will find yourself at Riverside Street

Riverside Street
When you come out of the alley, you will see 1x Heavy Scavenger patrolling the street. From here you can either follow the street up or cross the bridge.

Go up the street until you see some cars piled up. To your left you will find 1x Pyro Scavenger behind a car.

Once you've dealt with the Pyro Scavenger, look behind the piled cars and you will see a door control. Open it and you will be granted a new path to the Medbay located at JCPD Back Alley.

Keep going up the road and you will see 1x Prisoner, kill him and you will arrive at the JCPD Main Entrance.

JCPD Main Entrance
There will be 1x Heavy Scavenger and 1x Dual-Wielding Scavenger waiting at the JCPD Main Entrance. Try to kill the Dual-Wielding Scavenger first as he is faster and more difficult to avoid.

Behind you, you will also see 1x Pyro Scavenger on top of a ramp, kill him and the area will be clear of enemies.

Check the dead A.I.D. Officer bodies to find 1x Keycard - JCPD Main Enterway. This will allows you enter the Detention Center through the main entrance. You won't be needing to go inside right now but it will be useful later on.

From the top of the ramp, you can jump on top of the containers to reach 1x Small Pile of Metal Scrap

You can also drop to the riverside and reach a hidden area.

Here you can find 1x Loot Cache with 1x Pile of Metal Scrap inside. If you climb the stairs you will also find 1x Small Pile of Metal Scrap inside a container that you can open to go back to the JCPD Main Entrance.

Keep going up the road and you will reach Riverside Street – Port Nixon Exit

Riverside Street - Port Nixon Exit
Keep going through the street until you find 1x A.I.D. Melee Officer and 1x A.I.D. Ranged Officer. These are formidable enemies, & in early game do not respawn once killed. The Ranged officer will attack you with a precision rifle when you are at a distance and swap to melee when at close range. Targeting the Ranged Officer's body has a chance to drop the A.I.D. 'Empire' Sniper Rifle in addition to the body armor (needs testing of whether it is guaranteed from body or random chance from enemy). The melee officer will use the shield and an A.I.D Type-4 'Authority' that deals high damage.

A good strategy is to aim to the A.I.D. Ranged Officer head and use the Combat Drone to dispatch him from a distance. The drone itself won't kill him but you can quickly finish him off with your weapon. To deal with the A.I.D. Melee Officer, try to use your charged attack to break his shield. Wait for him to attack, evade and then strike back. Try to focus on his arms to acquire the A.I.D Type-4 'Authority'.

After you've defeated them, keep going until you find the door leading to Port Nixon.

Pass it through and you will find a small area were you can find audiolog Safe Shelter (the audiolog is no longer present here) and implant Adrenal Harvester.

You can't go further from here since you need a Force Hook. Go back to Downtown Jericho City from where you came. Go back to where you killed the A.I.D officers but this time turn right. You will pass a small passage that leads into some Stairs. Go up and open the door using the control panel. This will give you acces to the Canal Back Alleys

Canal Back Alleys
Open the jammed door and check the area from above, then go down the stairs. Once downstairs, you will see 1x Prisoner that you can sneak behind and kill. On the other building you can see another 1x Prisoner use your Combat Drone to dispatch him.

Jump to the lower area, here you will find 1x Pyro Scavenger. On one of the corners, you can find 1x Small Pile of Metal Scrap.

Go left and you will see 1x Dual-Wielding Scavenger looking at the other end of the bridge, sneak behind him and kill him. If you cross the bridge you can go back to the JCPD Back Alley to acces the Medbay for upgrades.

Behind where the Dual-Wielding Scavenger was standing, there is a big box. If you break it, you can access small alley where you can find 1x Large Pile of Metal Scrap inside a Box. You can also climb the stairs to find 1x Pile of Metal scrap or go back the Riverside Street – Port Nixon Exit

Go back to the open area in the alley and turn right. Here you can find a smaller area with 1x Heavy Scavenger. Later on, when you acquire the EMP-44 'Starfish', you will be able to finish the King Of The Looters Quest here.

Turn around and climb the metal stairs. There is a big box that you can break to find 1x Small Pile of Metal Scrap

Keep going up the stairs and follow the path. You will find 1x Small Pile of Metal Scrap and 1x Dual-Wielding Scavenger. You can obtain KLINGE Velo-Saw by performing a finishing blow on his arms. After you've killed him, jump to the lower floor.

You will see a magnetic lift and, on the other side of the room, 1x Pile of Metal Scrap. Take it and go down using the magnetic lift.

Here you will find 1x Heavy Scavenger that you can sneak behind and kill. After you've dealt with the Heavy Scavenger, continue the path where he was standing.

You will need to jump to reach below the bridge. There you will find 1x Pile of Metal Scrap. Note: if one has not already received from a Pyro enemy head, this item may be Battery Adrenalizer implant instead. Jump again to reach the other end.

Turn right and you will find audiolog Secret Passages and a magnetic lift.

Once on top, follow the way ahead of you.

On top of the ramp you will find W-102 Banner.

Keep going through the ramp and enter inside the building, there you will find a magnetic lift that takes you back to the JCPD Alley by opening a control panel. Use the opportunity to upgrade your equipment.

All Saints BLVD
Go back using the door and lift that you just unlocked. Once on top of the ramp you can jump down to the scaffold in the back alley to find 1x Large Pile of Metal Scrap. Note: this item may instead be a Toxic Filter implant if not already possessed.

Continue walking by the ramp and turn left, you will arrive at All Saints BLVD. Here you will meet a Man standing by a fire. If you talk to him he will provide you with information. You can go to your right and open the door leading to the Riverside Street. You can also search the area and find 1x Small Pile of Metal Scrap and 1x loot cache with 1x Large Pile of Metal Scrap inside of it.

Continue ahead and you'll find an open area with 1x Pyro Scavenger and 1x Ranged VULTR. Try to focus on the Ranged VULTR first and then deal with the Pyro Scavenger. You can obtain the Klokonov R-47 Autorifle Combat Drone module by performing a finishing blow on the Ranged VULTR Arms.

Once you've dealt with the enemies, search in the area for the disturbance. Go there and a scene will play where you see Athena.

After the scene is over, a Loot Cache will appear with Metamorphing Talons inside. If you search the surroundings you will also find audiolog State Of Surveillance.

Search the area behind where the Ranged VULTR was standing, you will find a magnetic lift. Go down and you will find a Loot cache with 1x Rig Capacitor Inside.

If yo go underneath the bridge, you will find 1x Heavy Scavenger using a Salvaged Crusher. In one of the corners, you will find the W-101 Spray Can Combat Drone module.

From here you can go up the street or go down the stairs to Welders Block.

Welders Block
Go down the stairs and you'll face 1x Shielded VULTR. These enemies deal a high amount of damage with their combo and are protected by a shield. You can use a charged strike to brake the shield in 1 hit. You can obtain ASTir Plasma Augur from him.

After you've defeated the Shielded VULTR, turn left and follow the alley. Be careful as 1x Heavy Scavenger will drop over you from the building above dealing damage.

Continue and you will see 1x Heavy Scavenger and 1x Infected Scavenger to your left. You can get MG Negotiator from the Infected Scavenger and Endas RS3 'Titan' from the Heavy Scavenger.

Right behind you, you can see 1x Heavy Scavenger giving his back. Sneak behind him and kill him. You will also encounter 1x Ranged VULTR.

When the enemies are defeated, you will see an intersection. Turn left and you will go inside a building. Inside, there is 1x Ranged VULTR to the left of the entrance and 1x Dual-Wielding Scavenger behind the box. Try to first deal with the Ranged VULTR. You can obtain the Omni-Cell Clip Implant from the Ranged VULTR head and Bootleg Splitcleaver from the Dual-Wielding Scavenger.

After you have defeated the enemies, search the room and you will find 1x Loot Cache with the Cellular Regenerator Implant inside.

Go back to the intersection and this time go ahead. Try to approach the boxes walking and you will place yourself behind 1x Shielded VULTR. Be carefull because there are also 1x Ranged VULTR and 1x Infected Scavenger in the area.

Once you've defeated them, search the area for a small tunnel where you'll find 1x Ranged VULTR and 1x Small Pile of Metal Scrap.

If you go to the left side of the bridge, you will find stairs that will lead you to a Exo-Line and audilog Nowhere to hide.

Go back and cross the bridge protected by 1x Shielded VULTR. Once on the other side of the bridge, you will arrive at the Seaside Court.

Video
[video goes here]
Trivia & Notes:
Trivia and notes go here
General Information
- Previous: Seaside Court
- Next: Cloud 9 Bar (Part 1)
- Bosses: N/A
Video Walkthrough
[video goes here]
NPCs in the area
- ??
- ??
Bosses
- N/A
Items
- ??
- ??
- ??
- ??
- ??
- ??
- ??
- ??
- ??
Equipment
- ??
- ??
- ??
- ??
- ??
- ??
- ??
- ??
Gear:
- ??
- ??
- ??
- ??
- ??
- ??
- ??
Enemies
- ??
- ??
- ??
- ??
Full Downtown Jericho City Part 2 Walkthrough
All Saints BLVD
Head out and go below the bridge located at All Saints BLVD. You'll see an opening and magnetic lock. Destroy it and go inside. Once inside, you'll find Stranger. Talk to him and the quest The Witness will update.

OPTIONAL: You can go back to the Detention Center and head to Cellblock B basement. You'll find a magnetic lock that you can break and find a door leading to the Underground. You'll find 1x Auto-healing Dynamo implant and audiolog Prison Break-in. You can't advance further for the moment and you'll come back later on the game.

Head back to All Saints BLVD and head to to A.I.D Control Post. When you approach the A.I.D. Control post you will see barriers saying STOP. If you get close enough the A.I.D. will start attacking you.

Turn left and go to the alley, you will find Shady Doctor. He will give you the quest Private Practice requesting you to retrieve a fallen drone. Keep going to reach Sanitation Alley

Sanitation Alley
Keep going through the alley and you will face 1x Shielded VULTR and 1x Ranged VULTR. Go up the stairs and you will see a box . Break it and you will access a small passage leading to an alley. You can find audiolog Hunter Ad and a chest with 1x Large Pile of Metal Scrap inside.

Go back and keep going through the stairs, you will see 1x Infected Scavenger, you can sneak behind it to perform a backstab. Go right and use the magnetic lift. Once on the street, break the toilet door to find 1x Nano Absorber inside.

On the end of the street you will see a magnetic lock. Open it to provide a way back to the medbay located at JCPD Back Alley.

Go back to where you killed the infected scavenger and keep going. You will find a room with 1x Escaped Prisoner and 1x Shielded VULTR. Once you've defeated them, jump down to the top of the container. There is 1x Ranged A.I.D. Officer patrolling the streets (You can obtain A.I.D. 'Empire' Sniper Rifle drone module by performing a finishing blow on its body and Deflection Damage Enhancer by cutting its head). You can jump down and sneak behind him to perform a backstab.

On the end of the street you can find 1x JCPD Teaser Drone scanning the area. Defeat it and you will find a chest with 1x Large Pile of Metal Scrap. Keep exploring and near the entrance you will see a Magnetic Lock. Use your Starfish Drone to destroy it. This will disable the gate scanner and 1x Ranged A.I.D. Officer will come to check the power. Try to sneak behind him to kill him. Use the magnetic lift and you will reach Central Plaza

Central Plaza
Once you reach the rooftop, 1x Ranged A.I.D. Officer will start shooting at you from the other building. Take cover and wait until he comes down to defeat him. Go down using the magnetic lift and watch the Strange Vision 4/10. After the vision is over, a chest will appear with 1x Darkened Dragoon inside.

You can also find the downed drone from the quest "Private Practice". Pick up 1x Busted Drone quest item to take it back to the Shady Doctor. Behind the magnetic lift, there is a magnetic lock. Destroy it to gain access back to the All Saints BLVD and go back to the Shady Doctor. Once you talk to the Shady Doctor you can choose to give him back the package or not. If you don't you will have to fight him and the quest Private Practice will fail. You will still be able to use the medbay.
Go back to Central Plaza. Explore the area underneath the building and you'll find a chest with 1x Unyielding Stabilizers implant inside. Keep going and you will reach Welders Block Rooftops. From here you can activate a magnetic lift that can be used to head back to the Seaside Court.

If you go right, you will see 1x Ranged VULTR and 1x Automated Turret. You will also be able to open a gate leading back to Welders Block. Go back to Central Plaza once again and go straight to reach Capitol Square.

Capitol Square
You will see some stairs on the right part behind some trucks head there and you will find Downtown Metro. As soon as you walk down the stairs you will find a Medbay. Keep going to enter the Underground

When you enter the Underground you'll find yourself in a small room. Pass the corridor to your right and you will find a chest with Kineto-Channel Dynamo implant inside. Go back to the first room and go to the train. You can find audiolog Deep Resentment to your right.

Go back to Capitol Square, from here you can go two ways:
Path 1

You will see a big open area, with many enemies, head towards the stairs where you can see 1x Heavy Scavenger. Head below the bridge and use the small passage to your left. If you walk you will find yourself behind 1x Shielded Liquidator, (You can obtain Carbide Cablewhip by cutting its arm) 1x Ranged SCARAB and 1x Fire Liquidator (You can obtain Superheated Firestarter by breaking its arm). Be careful as there are also 2x Explosive Drone in the area.

After you've defeated them, destroy the box on the road. You'll see 1x Fire Liquidator and 1x Ranged SCARAB. You can find 1x Battery Adrenalizer where the Ranged SCARAB was standing. Keep going through the road and you will see 1x Dual Wielding Rhino and 1x Fire VULTR. (If you keep going straight you will find the Babylon hotel entrance leading to Cloud 9 Bar). Continue at Roads Connect

Path 2
You will see a big open area, with many enemies, head towards the stairs where you can see 1x Heavy Scavenger, defeat him and break the boxes to find 1x Big Pile of Metal Scrap. Head to the bridge where you will find 1x Heavy SCARAB (You can break its arms to obtain Codename: Moonlight)

There is 1x Automated turret and 1x Ranged VULTR on top of a building, they will shoot you when you try to cross the bridge so keep moving. Once on the other side of the bridge, you'll notice a scavenger inside a shop to your left. Try to perform a killing blow to its head to obtain the schematics for Marshal's Wrangling Hat. There are also 1x Heavy Scavenger and 1x Dual Wielding Scavenger in the shop. Try to cut the Dual Wielding Scavenger arms to obtain Totem Wolf Tomahawk.

Turn around and you will see a jammed door. Open it and head inside. You will find 1x Rig Capacitor XL Implant. You will also be able to open a door heading back to the Sanitation Alley. Continue at Roads Connect

Roads Connect
Go left, You will see 1x Heavy Scavenger, 1x Heavy VULTR, 1x Fire Liquidator and 1x Ranged Liquidator. Once you've defeated them, explore the area to find audiolog Power to the people!

Go down the stairs and you will find yourself back at Sanitation Alley. Here you can open a door leading back to the JCPD Back Alley. There is 1x Heavy URBN at the end of the alley. Be careful as another 1x Heavy URBN will drop from above when you get near.

After you've defeat both of them, you can find 1x Sustaining Array Implant on the alley. You can also find a chest with 1x Energy Dynamo Implant inside if you go up the stairs.

Go back to where you found the Power to the people! Audiolog and use the magnetic lift near it. Once on top you will see a bridge with 1x Shielded VULTR and 1x Heavy SCARAB.

After you've defeated them, use the Starfish Drone to open the magnetic lock on the firs room. Behind the door you will find 1x Ranged VULTR and 1x Automated Turret. You can also find some Omni-Cells ammo.

Cross the bridge and you will see the entrance to the Babylon Gardens Hotel. Jump down and you'll see 1x Ranged SCARAB, 1x Automated Turret and 1x Explosive Drone in front of the entrance. You can walk behind the Ranged SCARAB to perform a backstab.

Go inside the building and you will reach Cloud 9 Bar

Video
[video goes here]
Trivia & Notes:
Trivia and notes go here
General Information
- Previous: CREO Institute of Technology (Part 1)
- Next: Gateway Bravo
- Bosses: N/A
Video Walkthrough
[video goes here]
NPCs in the area
- ???
Bosses
- ???
- ???
Items
- ???
- ???
- ???
- ???
- ???
- ???
Equipment
- ???
- ???
Gear:
- ???
- ???
Enemies
- ???
Full Downtown Jericho City Part 3 Walkthrough
Once you are outside Guideon's Rock, use the elevator located at the Cloud 9 Bar that leads to Downtown Jericho City.
Go through the edge of the building until you find a chest. Inside the chest you'll find 1x Pile of Metal Scrap. Cross the bridge and you'll find audiolog “The beginning of the End” to your left. Go to the other side of the building and enter inside.
Activate the magnetic lift using the control. This will lead you back to the MedBay located at Downtown Metro.
OPTIONAL: Before you continue, you can go back to the Stranger's Hideout and provide him a full set of the A.I.D. Nightfall (you need to sell him the pieces). You won't be able to do this after entering the A.I.D. Command area so this is a good oportunity. If you give him the set pieces, he will move providing access to the chest behind thim. You can find 1x Pain Enhancer implant, 1x Stranger's Facemask and (only if you activated a pre-order bonus) 1x Warren's Well-Used Cutter.

A.I.D. Road Fortifications
Go to the control point next to the Downton Metro and go inside. You'll have to fight 1x Ranged Eclipse A.I.D. Officer and 1x Melee Eclipse A.I.D. Officer. You can obtain weapon Experiment 44h ‘Darkstar' if you cut their arms.
Once you go inside. The gate alarm will go off (note if approaching from the secondary elevator exit from Cloud 9 you can drop on the far side of the gate & deactivate it using the starfish without setting it off) and you'll have to face 1x Ranged Eclipse A.I.D. Officer and 1x A.I.D. Hound. You can obtain Ancillary Core +5 implant +5 grenade drone ammo by cutting the hound tail & A.I.D. 'Warhound' weapon/tier 6 components for cutting an arm. There is also 1x Ranged Eclipse A.I.D. officer on top of a structure.

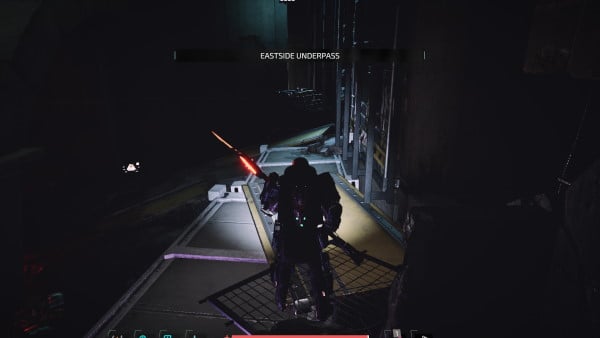
Once you've dealt with all the A.I.D. units, turn right and break the boxes to clear the path leading to the stairs. You can find 1x Pile of Metal Scrap here. You can break a box left to the bottom of the stairs and you will find 1x Large pile of metal scrap inside. Keep going and you will find Eastside Underpass
Eastside Underpass
Once you are underground you will find 2x JCPD Drone. Be careful as there is also 1x Automated Turret on the top.
You will find a box that you can break on one of the walls. Break it and use the magnetic lift. Keep going until you find some stairs. Jump to the other side to find 1x Pile of Metal Scrap. Jump back and go up the stairs and you'll reach the building with a chest inside.
Jump back down to the A.I.D. Road Fortifications and go back all the way to Eastside Underpass. Use the Stairs located to your left. On the first floor you can find the 1x Automated Turret that was shooting at you and 1x Ranged Eclipse A.I.D. Officer.
Keep going up until you find an open area with 1x Ranged Eclipse A.I.D. Officer. You can walk behind him to perform a backstab. There is a magnetic lock to your left. Destroy it to gain access back to A.I.D. Road Fortifications.
Use the magnetic lift located to the left and you will find audiolog Doctor's Orders. Use the next magnetic lift to reach a rooftop area. There you will find a chest with 1x Medi-Force Converter implant inside.
Go back using the magnetic lifts and this time go inside the small tunnel located to your right. You'll have to face 1x Ranged Eclipse A.I.D. Officer.
 Use the magnetic lift and keep going you will find 1x Ranged Eclipse A.I.D. Officer. Once you defeat him, you will also have to fight another 3x Ranged Eclipse A.I.D. Officer and 1x Melee Eclipse A.I.D. Officer that are roaming the area. Once you've dealt with all the enemies go inside the tent. You'll have to fight 1x Heavy URBN. When the area is clear open the chest to find 1x Codename: Lohengrin weapon.
Go back outside and use the magnetic lift on the left. You'll find an open area with 2x Ranged Eclipse A.I.D. Officers. After you've dealt with the enemies, you can drop to the top of the tent and find 1x Rig Capacitor XL.

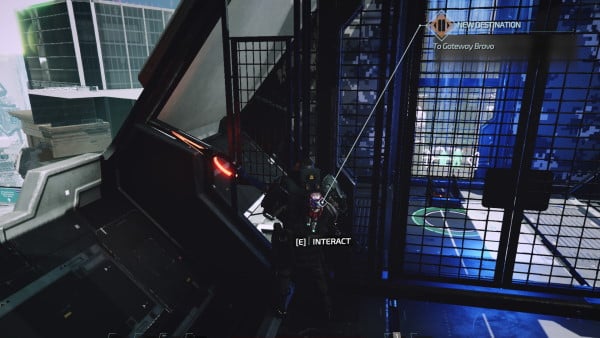
Go back up and enter Gateway Bravo
Video
[video goes here]
Trivia & Notes:
Trivia and notes go here
General Information
- Previous: Cloud 9 Bar (Part 2)
- Next: Cathedral of the Spark
- Bosses: N/A
Video Walkthrough
[video goes here]
NPCs in the area
- ???
Bosses
- ???
- ???
Items
- ???
- ???
- ???
- ???
- ???
- ???
Equipment
- ???
- ???
Gear:
- ???
- ???
Enemies
- ???
Full Downtown Jericho City Part 4 Walkthrough
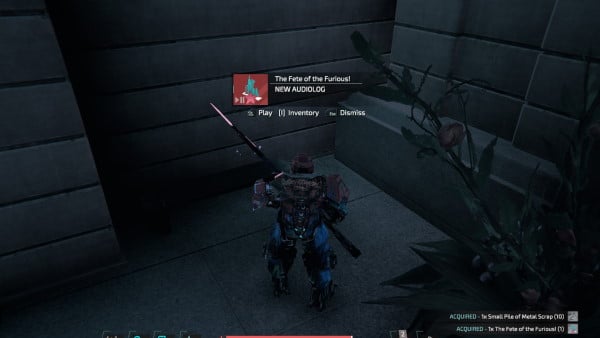
Go outside the Could 9 Bar to reach Corrupted shopping streets. Turn right and you'll find audiolog The Fete of the Furious! Use the Exo Line to go up. Keep going until you find 1x Shielded Chrysalis. You can cut it's arms to obtain Infected Plasma Augur. You can also find audiolog Warren's Testimony.
Keep going down until you reach the lower level. You can break a box to find 1x Cache of Advanced Tech.
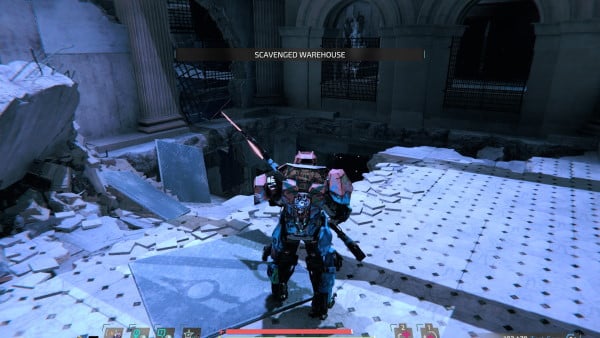
Scavenged Warehouse
Go outside and you'll find an open area with 1x Shielded Chrysalis, 1x Heavy SCARAB and 3x Fire Chrysalis.
Go inside the building. Break the boxes and go up the stairs that has nanites on them. You will find 2x Ranged SCARAB on the first floor. Use the Exo-Line to reach the top floor and fight 1x Heavy Chrysalis.
Once defeat him, open the jammed door and keep going. You'll eventually reach some boxes. Destroy them to unjam the door leading to the Cloud 9 Bar. Go back to open area before the nanites stairs. There is an opening to your left leading to Corrupted Back Alleys.
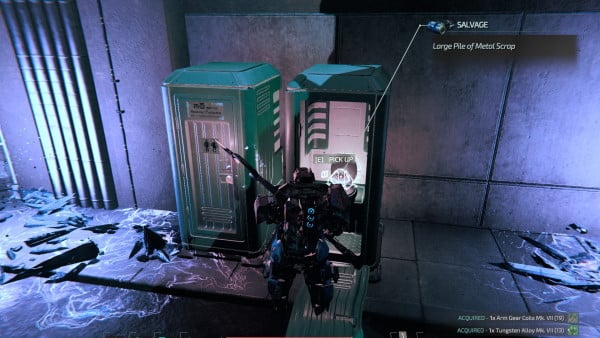
You'll have to fight 1x Heavy Chrysalis. Once you've defeat it you can also find 1x Large Pile of Metal Scrap by breaking one of the toilettes doors. Open the door leading back to the JCPD Back Alley.
Keep going and fight 4x Heavy Chrysalis. On the next area you'll also find audiolog Children Of the Spark, 1x Twin-Rigged Chrysalis and 1x Fire Chrysalis.
Go down the ramp and go outside to the streets. You'll find 1x Ranged Eclipse A.I.D. Officer and 1x Two-Handed URBN. Head inside the gate and fight 1x Ranged Eclipse A.I.D. Officer, 1x Chrysalis A.I.D. Officer (you can obtain Infected Type-4 'Authority' by cutting its arms) and 1x Heavy MG Cerberus A.I.D. Officer
Keep going, you can find implant Deflection Supercharger inside a tent to your right. You'll reach Calamity Square.
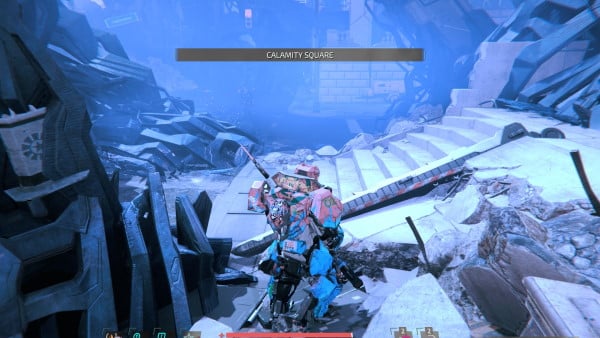
Calamity Square
Go Through the plaza. You'll have to fight 2x Ranged MG Cerberus A.I.D. Officer, 2x Heavy Chrysalis and 2x Fire Chrysalis. Once defeated, you can access the Metro Med Bay.
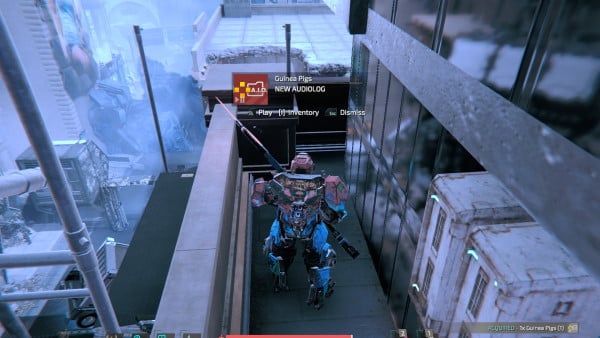
Go back and use the Exo-Line. Use the next Exo-Line going to Guideons Plaza. You'll find audiolog Guinea Pigs. Continue through the Exo-line and you'll be able to break a Magnetic lock that provides access back to the Cloud 9 Bar.
Go back and head towards Central Plaza. You'll see 1x Large Pile of Metal Scrap. When you get close enough, the break will break and you'll have to fight Delver Echo Gamma Boss
Delver Echo Gamma
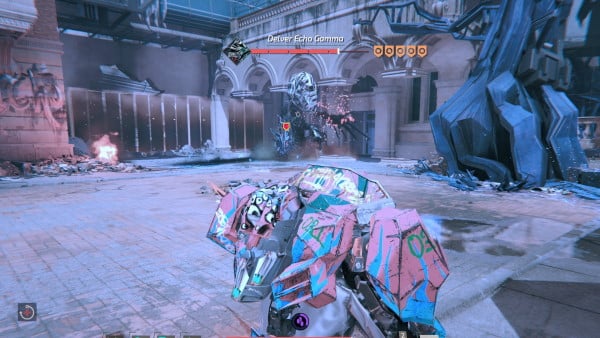
This boss plays the same way as Phase 3 of Delver. It will stand in two legs and move very slow. It will leave a nanite trail wherever it goes. This stage is very easy if you follow the following steps:
Try to stay running in a wide circle far away from the creature. It will eventually drop itself to the ground and slide to your direction leaving a big trail of nanites behind it. Just wait until its close and dodge to either side. After dodging use a charged attack to reach the creature and deal as much damage as you can before it can get up. When the creature is up, run away as far as you can and repeat the operation. You can repeat this until the boss is defeated without taking any damage.
Delver Echo Gamma Rewards
- Reward: 20.000 Tech Scrap
- Deflection Hardener
- Alternate Kill reward:
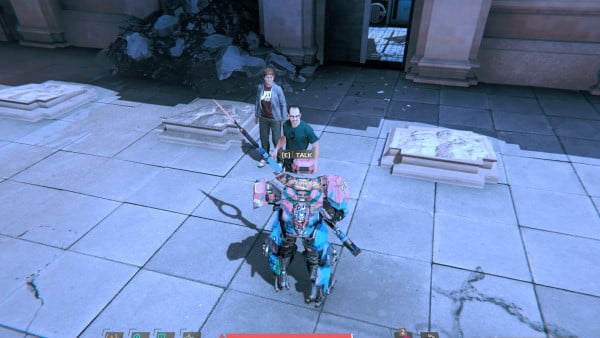
After you defeat the boss, two NPCS called Jose and Majana will appear, talk to them to update the quest Gone Missing.
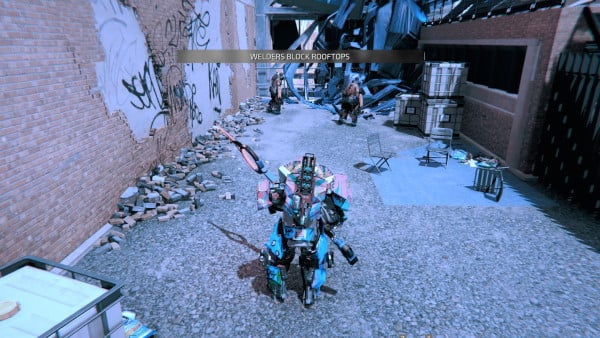
Keep going until you reach Welders Block Rooftops. You will find audiolog Back to the Slammer and fight 2x Twin-Rigged Spark Aspirant.
Head down to Welder's Block using the magnetic lift. There is an opening to your right with 1x Heavy Spark Defender and 1x Twin-Rigged Spark Aspirant. Once you've defeated them, keep going and you'll find another room with 1x Heavy Spark Defender 1x Twin-Rigged Spark Aspirant and 1x Heavy Chrysalis. You can obtain Infected Slashbrand if you cut its arms.
Keep going and you'll find 2x Heavy Spark Defender, 1x Spark Engineer, 1x Twin-Rigged Spark Defender and 1x Heavy Chrysalis in front of the Seaside Court. Once you've defeated all the enemies. Go inside the Seaside Court.
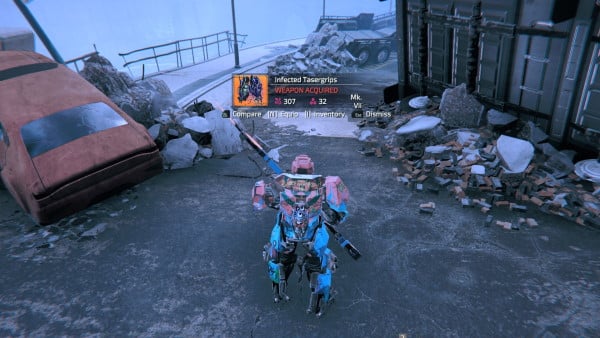
Go back and head to the Strangers Hideout located below All Saints BLVD. When you reach the open area, you'll have to face 2x Nanite Warper. There are also 2x Chrysalis Drone in the area. You can break their arms to obtain Infected Tasergrips.
Once you are done. Use the magnetic lift and enter Warrens Hideout. He'll update the quest The Witness. Use the Exo-Line behind Warren. You'll find a small room with 2x Heavy Chrysalis. You can also find 1x Warren's Hideout Keycard on the ground. Keep going and you'll reach Drainage Hall.
Drainage Hall
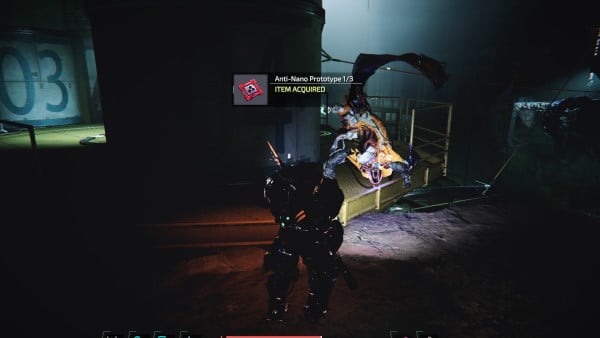
You'll encounter 1x Infected Scientist (You can cut their arm to obtain Living Jawbone Weapon and their heads to obtain Entropic Dissolver Implant). If you defeat him you can acquire quest itemAnti-Nano Prototype 1/3. You can also find audiolog Public Service Announcement.
Use the Exo-Line located to your right, there is a door behind the column. Open it and you'll have to fight 1x Infected Scientist, you can obtain Anti-Nano Prototype 2/3.
Head back and use the magnetic Lift. You can find 1x Large Pile of Metal Scrap to your left. Use the Exo-Line and head down. Open the door control and go down the stairs. You'll find audiolog Barrett's Legacy 2/3 and a chest with Implant Circuit Inside. Open the Control door heading back to the lower room of the Drainage Hall.
Go back to where you killed the first Infected Scientist. Use the Magnetic Lift located at the end of the platform. You can find Lithium Polymer Cells implant to your right. Use the Exo-Line to reach the other side. Use the Exo-Line Again and you'll reach the upper-most area where you can find audiolog Barrett's Legacy 1/3 and a Med-Bay. You can also use the Exo-Line in front of the Med-Bay to reach the Metro-Station.
Go Back to Warren's Hideout and open the locked door. Check the left of the Exo-Line to find Emergency Reserve Injection Implant. Go down the Exo-Line and fight 1x Twin-Rigged Spark Aspirant. From here you can head towards the Old Sewage Canal to Harbor or go inside the prison. Head into the prison.
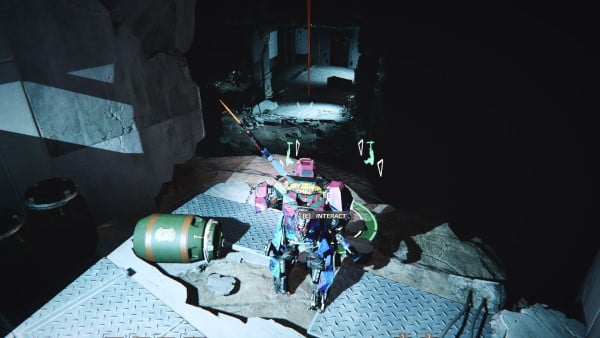
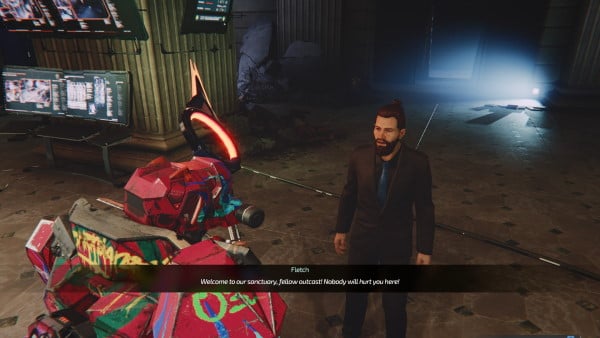
PRISON
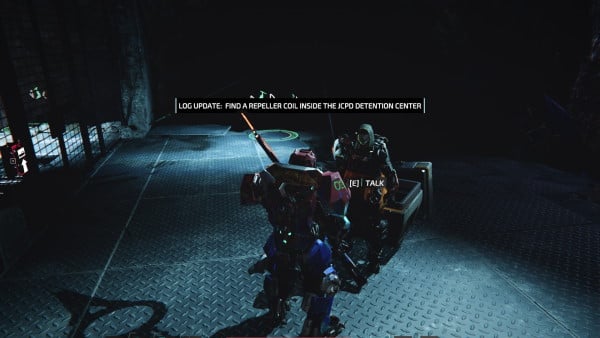
Once inside the prison go to the JCPD Lobby (Where you defeated Warden Garcia) and you'll find 4 Npcs. Talk to Fletch and he will tell you that the controls are upstairs. If you tell him that you'll take the repeller by force you'll have to kill all of them.
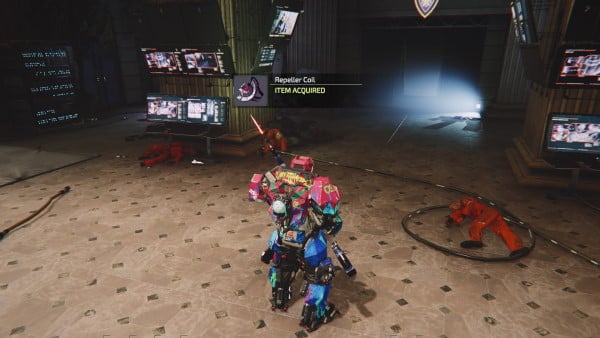
Go upstairs and activate the control. 2x Nanite Warper will appear and you will find the Repeller Coil quest item on the middle of the room.
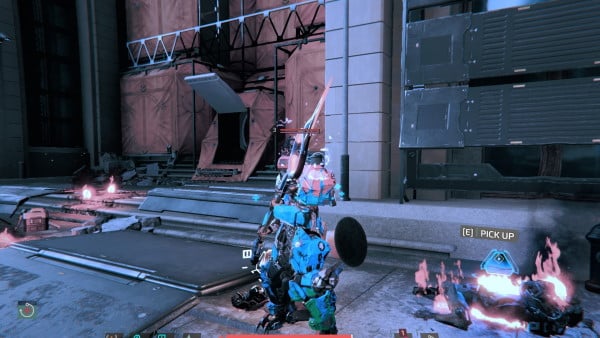
Head to the JCPD Back Alley by going upstairs. You can use the Medbay located there. Use the Exo Line to acquire 1x Cache of Advanced Tech. On the rooftop area you can find 1x Nano Absorver implant. Go inside the building. If you jump you can find a small area with 1x Large Cache of Advanced Tech. You can also open a door leading back to Scavenged Warehouse.

Go back to the JCPD Alley and head to the Detention Center Entrance you'll find 2x Chrysalis Drone and audiolog Last Hope. There will be 1x Shielded Chrysalis, 1x Twin-Rigged Spark Aspirant and 1x Heavy Spark Defender. You can also find audiolog Monstrous Breach.
Continue through the highway and fight 1x Chrysallis Heavy. Turn left and head into the Canal Back Alleys. You'll see 1x Chrysallis Hunter(You can obtain Infected 'Aeterna' by cutting its arms). You'll obtain Canal Keycard Quest Item.
Head Down and fight 2x Heavy Chrysallis and 2x Fire Chrysallis. Go deeper into the alley and fight 1x Dual-Wielding Chrysallis and 1x Fire Chrysallis. You'll find a chest with 1x Circuit Implant inside.
Go back to the Underground passing through the Prison Basement and head into the Old Sewage Canal to Harbor
Video
[video goes here]
Trivia & Notes:
Trivia and notes go here
General Information
- Previous: Cloud 9 Bar (Part 3)
- Next: A.I.D. Command (Part 2)
- Bosses: N/A
Video Walkthrough
[video goes here]
NPCs in the area
- ???
Bosses
- ???
- ???
Items
- ???
- ???
- ???
- ???
- ???
- ???
Equipment
- ???
- ???
Gear:
- ???
- ???
Enemies
- ???
Full Downtown Jericho City Part 5 Walkthrough
Once outside, you’ll reach Corrupted Shopping Streets and you'll have to face 2x Bloodied Proteus and 1x Spark Engineer. Go to your left and you’ll see a vending machine trapped by nanites. Break the nanites using a charged attack and you’ll be able to talk to the Vending Machine. You can buy Infected 'Vechni' from it.
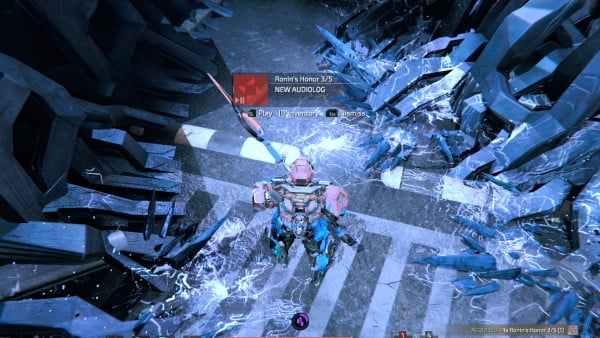
Keep going, you may be ambushed by 2x A.I.D. Ronin Officer and find audiolog Ronin’s Honor 3/5. Keep going and fight 1x Bloodied Proteus, 1x Proteus and 2x Automated Turret. Keep going until you reach Calamity Square
Calamity Square
You will see Eli’s Rampage (1) and a chest with 1x Large Pile of Metal Scrap will appear. You will also have to fight 1x Heavy Chrysalis. Head into the metro. You’ll have to fight 1x Electro Beam Galvanizer. Once you are done go inside the Metro.

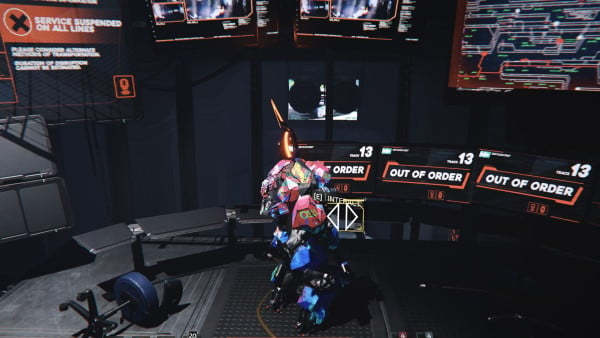
Metro Station
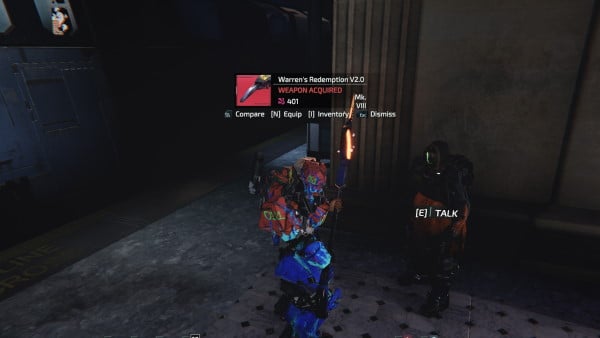
You’ll see Warren to your left, talk to him. To obtain the alternate drop Warren's Redemption V2.0 you need to give him the repeller coil when you talk to him. After that ask him what’s next and then ask him for a reward. You need to have all the following: Give him the A.I.D. Nightfall full set, help him go inside the Generals office, get him a repeller coil. You will also obtain Adrenaline Shunt Implant.
Head Straight and go up the Stairs. You’ll have to fight 1x Punching-Gloves Scavenger and 1x Ranged SCARB. Once you reach the top of the stairs you’ll find the control room to your right. Activate the control, a small cinematic will play where you see Warren Leaving on the train and the quest The Witness will be complete.
Go back to Calamity Square and reach Shattered Road Fortifications.
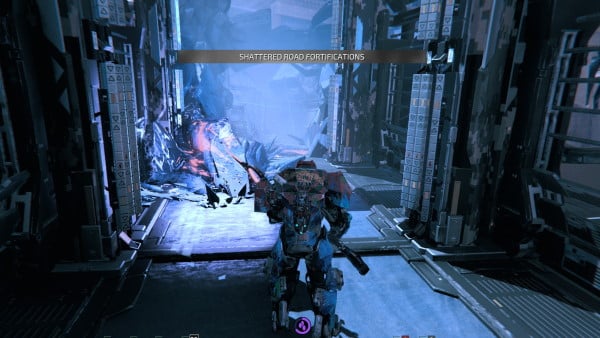
Shattered Road Fortification
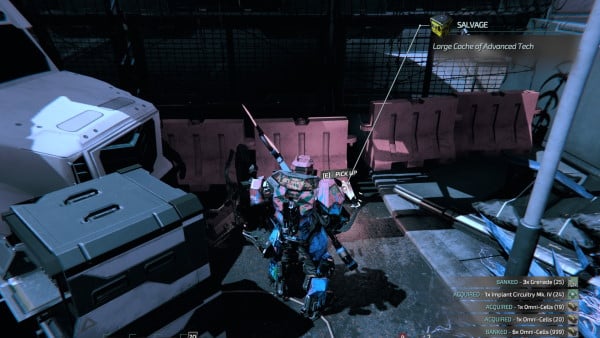
You’ll have to face 2x Automated Turret, 1 Ranged A.I.D. Cerberus Officer and 1x Nanite-Warper. Once you are done, you can find 1x Large Cache of Advanced Tech to your right. Be careful as 1x A.I.D. Hound will awake when you get near. Keep going and you’ll reach gateway Bravo.
Gateway Bravo
When you go down the ramp you’ll have to face 2x Nanite Warper and 1x Dual-Wielding Chrysalis. Keep going and fight 1x Proteus and 2x Bloodied Proteus. You can go inside the tent to find 1x Large Pile of Metal Scrap. Go up using the magnetic Lift and break the Nanite Barrier. Keep going and go down using the magnetic Lift. You’ll find a door leading to A.I.D. Command.
Video
[video goes here]
Trivia & Notes:
Trivia and notes go here
Can someone tell me how access the locked door in the Canal Back Alley?

- Anonymous
my quest is stuck at basically the first step: Use the material to upgrade at the medbay. i didnt do this when he told me too and now it doesnt recognize the quest as completed no matter what I craft. and im still using the medbay he gave this to me at.
I hate every enemy in this area.
0
+10
-1